Make a Dairy Queen Peanut Butter Cup Blizzard with 4 Ingredients
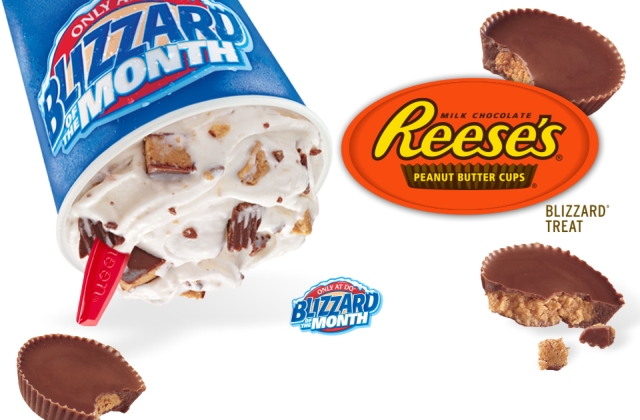
The weather is heating up, which means your snacks should be cooling down. And what’s the most delicious way to chill this summer? As we all know, the correct answer is anything from Dairy Queen.
Since 1985, ice cream lovers everywhere have praised the majestic frozen treat that is the Blizzard. Not quite ice cream, not quite a milk shake, the Blizzard is the creamiest ice cream you’ve ever tasted, filled to the brim with your favorite candy toppings. And who can resist holding their Blizzard upside down just to see how that red spoon goes nowhere? It’s like magic.
Well, we’re about to make summer a little more magical by bringing the DQ Blizzard right into your home. That’s right, you can make your favorite Blizzard at home using only four simple ingredients, and we’re going to show you how.
You’re welcome.
We decided to make a favorite: a Reese’s Peanut Butter Cup Blizzard. If you want to substitute PB cups for another candy, the instructions are the same… you just won’t get the same delicious Reese’s flavor. But that’s your choice.
First, you have to compile your ingredients (did we mention there’s only four of them?).

YOU’LL NEED
- 1/4 cup Milk
- 2 1/2 cups Vanilla Ice Cream
- Reese’s (or candy of choice)
- 1 tsp. Fudge
Start by mashing up your peanut butter cups using the blunt side of a knife or any cooking utensil. I used my salad tongs, because there doesn’t seem to be a better use for them.

Tip: Use Reese’s Minis, they work so much better in the blending process and are easier to mash up. Plus, if some don’t crush, they’re small enough that they still work perfectly.

Once your candy is crushed, prepare your 1/4 cup of milk, your 2 1/2 cups of ice cream and your 1 tsp. of fudge. They should look something like this…

Then, into the blender! Ice cream first.
Tip: Work quickly. You want your ice cream as thick and cold from the freezer as possible to get that Blizzard-like consistency.

Add your milk.

Then your fudge… admittedly, I may have added more than one teaspoon. Again, it’s all personal preference here.

Then, finally, your Reese’s. I used the back of a spoon to push them down a bit more into the ice cream. And, also, I ate a few. Sorry, not sorry.

Time to blend! The trick to getting the DQ signature consistency is blending in 30-second intervals. In between intervals (and you can do as many or as few as you want, to get the consistency you want) stir in between. This will make sure the fudge and candy pieces are getting evenly dispersed.

And there you have it! A decadent Dairy Queen copycat that you can make right on your kitchen counter in about four minutes with four simple ingredients.
If you really want to go nuts, cover the top in a layer of mini Reese’s. You won’t regret it.


If you’re finding that you want a thicker consistency than your blender is providing (this may be because you took a break during the process and allowed the ice cream to go soft), I highly suggest popping your creation in the fridge for about 20 minutes. You’ll get an upside down-worthy Blizzard in no time.
Then there’s nothing left to do but enjoy. Have a chill summer.


